Introduction
In this guide, I’ll show you how to boot into a corrupted Windows OS, reset your Windows password, and recover deleted files. While not comprehensive, this concise tutorial will walk you through the essential steps.
Why Digital Forensics is Useful for System Recovery
While digital forensics is commonly linked to cyber-crime investigations, its techniques are also valuable for system recovery. From forgotten passwords and corrupted operating systems to accidental file deletions and drive failures, forensic tools and methods can recover data while maintaining its integrity.
Tools and Techniques Discussed
In this guide, we will discuss the following tools and techniques:
- dd (Disk Duplication):
-
Purpose: dd is a command line utility used to create bit-by-bit copies (disk images) of storage devices.
-
Use Case: Ideal for creating forensic images of drives before any recovery attempts, preserving the original data.
-
Key Commands:
dd if=/dev/sdX of=/path/to/image.img bs=4M status=progress

#if: Input File/Source Drive
#of: Output File/Destination Image
#bs: Block Size (Used to optimize Perfomance)
#status=progress: Shows the progress of the Operation
- chntpw (Windows Password Reset):
-
Purpose: chntpw is a Linux-based tool which is used for resetting or bypassing Windows passwords by directly modifying the SAM (Security Account Manager) Database.
-
Use Case: It can be used to reset the password, in case the password is forgotten.
-
Key Commands:
chntpw -i /mnt/Windows/System32/config/SAM
- photorec (File Recovery):
-
Purpose: It is a tool used to recover deleted files by searching for file signatures rather than relying on the file system’s metadata.
-
Use Case: This is ideal for recovering files from damaged, formatted, or deleted partitions. It can recover a wide variety of file types, regardless of whether the file system is intact or not.
-
Key Commands:
photorec /log /d /path/to/recovery /cmd /path/to/disk

# /log: Keeps a recovery log
# /d: Specifies the output directory for recovered files
# /cmd: Provides commands for better control over recovery parameters
- foremost (File Carving):
-
Purpose: foremost is another file recovery tool which works primarily by carving files out of raw data. It uses file signatures (e.g: JPEG, DOCX) to search for and recover lost files using conventional methods.
-
Use Case: It is perfect for recovering files from formatted or corrupted drives where the file system no longer exists or is too damaged to recover files using conventional methods.
-
Key Commands:
foremost -i /path/to/image.img -o /path/to/output

# -i: Specifies the input image or device.
# -o: Specifies the output directory
- DMDE (Disk Editor and Data Recovery Software):
- Purpose: It is a powerful tool which can recover lost partitions, perform deep-level scans and even repair corrupted files and partitions.
- Use Case: DMDE is effective for recovering data from damaged drives, repairing partitions, and even extracting files from non-mountable drives.
- Key Commands: It is a GUI Tool hence does not have any commands.
Booting into a Corrupted Windows OS
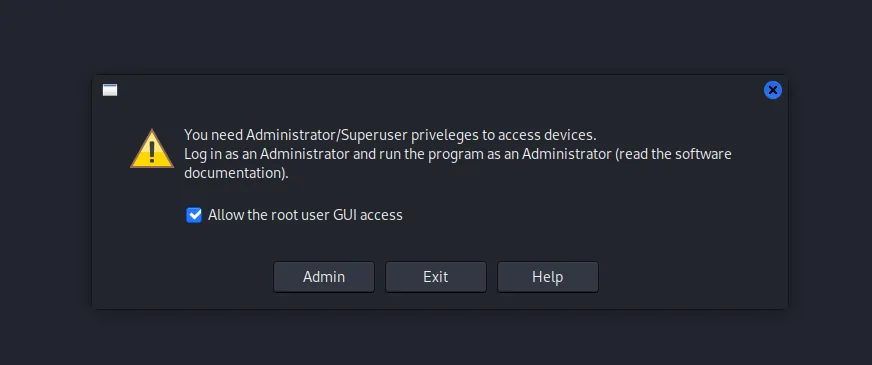
In case you’re here for the password reset method feel free to skip to the next section. If our Windows doesn’t boot and/or shows this screen:
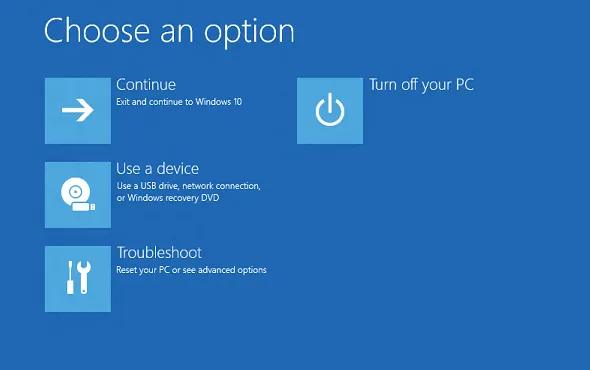
It is a sign that our Windows was corrupted.
In situations where we experience technical issues, our first instinct is often to reinstall Windows or use recovery tools with the Windows Installation Media. However, this approach is not ideal if our main goal is data recovery. The reason for this is straightforward: installing a new operating system or using recovery tools that alter the disk can easily overwrite existing data. Even if some files remain intact, the chances of fully recovering all the data are significantly reduced. Instead of rushing into a reinstallation, it is essential to utilize non-destructive recovery methods that allow us to recover important data before making any major changes to the system.
Making a Live USB
A Live USB allows us to boot an operating system directly from it, enabling us to view and copy files on the disk without installing a new operating system, which could complicate our file recovery process. There are multiple options for selecting a Live OS, but we will use Kali Linux in this example due to the large number of pre-installed tools it offers.
To get started, we can download the Live version of Kali from the provided link. Once we have the ISO file, we can use Rufus to create a bootable USB drive. Simply open Rufus, select the ISO image, and choose the USB drive you want to use. We will allocate 2GB of space for persistence, as we’ll be booting in Persistent Mode (if your goal is only to reset your password, you can safely skip this step). The other options can remain at their default settings.
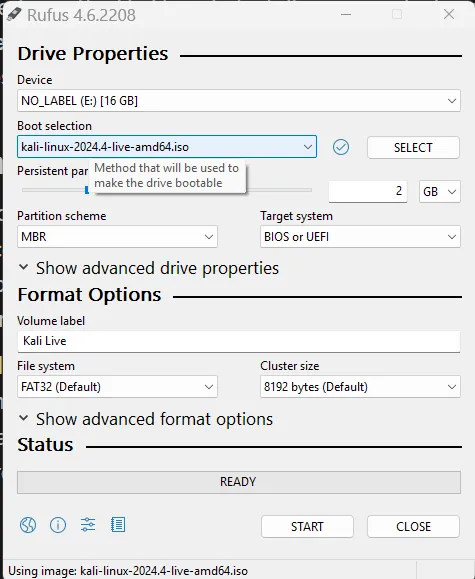
Wait for it to complete and then close it.
Booting Live USB
Depending on your PC or Laptop boot from the USB. If Rufus made the Live USB properly you will get the following screen:
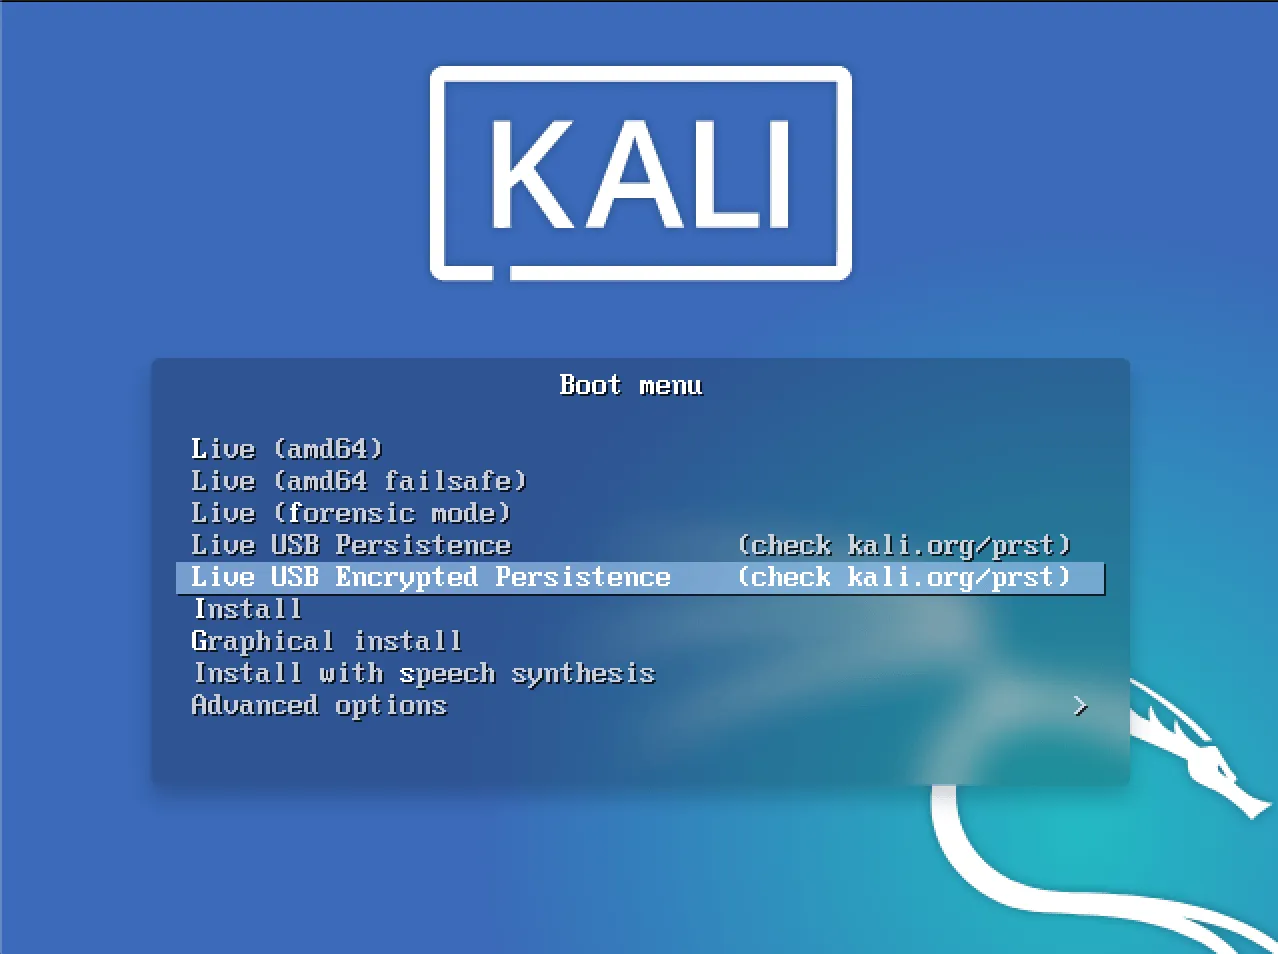
Select the Live USB Persistence Option (or the Encrypted one if you want to play it safe).
Resetting the Windows Password
We will move to the local drive after booting into the OS using Kali. There we can see the Windows folders and from there we will open Windows/System32/Config. Then we will right-click there in the File Explorer and open a terminal there. We can check to see if the SAM File is present there. We will then run the following command:
chntpw -l SAMThis will list the available users and which accounts have Admin Access. You should see the account you made in the list. Now we will run the following command:
chntpw -u <YOUR-USERNAME> SAMWe will now select the first option which is clearing the account password. And then we will write the changes to the hive. Just follow along with the instructions in the terminal. You can now shutdown the Kali-Live and remove the USB. Rebooting will show us that the password has been removed.
Creating a Disk Image before Recovery
Now in case you want to recover your data whether it is present or deleted the ideal approach is to create an image of your disk. Let’s see why it is important and how to accomplish it:
Why making a Disk Image is crucial before attempting Recovery
Before attempting any disk-recovery operation, creating a disk image is important to preserve the original data. A Disk Image is an exact, bit-by-bit copy of a storage device. This allows us to work on a safe duplicate instead of the actual drive.
The following are the reasons for doing this:
- Prevents Further Data Loss: When you attempt recovery directly on the affected disk, any failed operation or write action can overwrite deleted files, making them permanently unrecoverable. With a disk image, you can perform recovery without modifying the original drive.
- Helps in Dealing with Failing Drives: If your drive has bad sectors or is physically degrading, continuously accessing it can cause further corruption or even total failure. Imaging the drive immediately ensures you have a complete copy before the damage worsens.
- Speeds up Recovery Attempts: A disk image allows you to test multiple recovery techniques without re-scanning the failing drive each time. If one method fails, you can revert to the image and try again without risking additional data loss.
- Maintains Forensic Integrity: If you need to pause recovery or revisit the data later, having a disk image means you don’t need to access the original drive again. This is especially useful when working with large storage devices or forensic investigations.
Using dd to create an Image of a Failing Drive
dd is a command line tool whose primary purpose is to convert and copy files. On Unix systems, hardware device drivers (like those for hard drives) and special files (such as /dev/zero and /dev/random) are treated as regular files within the file system. This means that the dd command can interact with them just like it would with ordinary files, as long as the device driver supports read and write operations. Because of this, dd is often used for tasks such as backing up a hard drive’s boot sector or extracting a specific amount of random data. Additionally, it can modify data during copying by performing conversions like byte order swapping or transforming text between ASCII and EBCDIC formats.
We will now look at the following command which will help in creating a complete disk image.
dd if=/dev/sdc of=/dev/sdd bs=64K conv=noerror,sync status=progress- if=/dev/sdc: Represents the input file, which in this case is the entire /dev/sdc disk.
- of=/dev/sdd: Represents the output file (destination) which is the /dev/sdd disk.
- bs=64K: sets the block size to 64KB which means dd reads and writes data in 64KB chunks.
- conv=noerror,sync:
- noerror: Instructs dd to continue even if errors are encountered
- sync: Ensures that each block is fully written by padding corrupted or incomplete blocks with null bytes instead of skipping them. This keeps the output file/disk size consistent.
- status=progress: Shows the ongoing progress of the tool.
However to look at the drives connected we will run the following command
sudo fdisk -lThis will show us the drives connected and their respective paths.
After we made a clone of our disk we might want to use the image to reset our disk back to the same state; in case we did some operations on the disk and modified it. How would we go about that? It’s quite simple. We have the image so now we can run the following command:
sudo dd if=backup.img of=/dev/sdx bs=64K status=progressThe command is pretty much the same as above, with the differences being that it now includes the input image that is being used and the disk that is being written to.
After the process is completed we can confirm using the following commands
sudo sync  # Ensure all writes are completed
sudo partprobe /dev/sdX  # Refresh partition table
Example
I am using Kali in a VM for this current example but the concept can be applied to Kali Live.
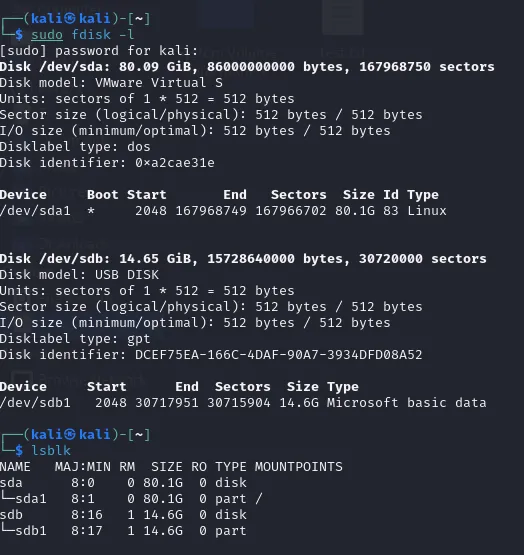
As you can see, I have 2 drives connected to the VM. The useful information is just the Device path, which is /dev/sda1 and /dev/sdb in this case. My USB drive has the path /dev/sdb in this case, and we will make a clone of the USB device in this example. I made a text file on the USB drive named test.txt and added the word “test” to it.

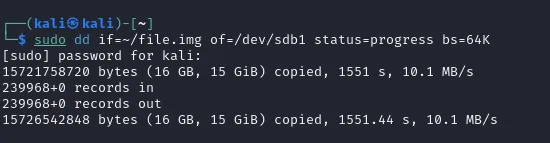
This is the command I ran to clone my USB drive to my home directory in a file called file.img. It will take some time to complete.
You do not have to follow through with this. This is just to show you that disk cloning makes an exact copy of the disk and returns it to the same state.
After the command completes I will delete the file:
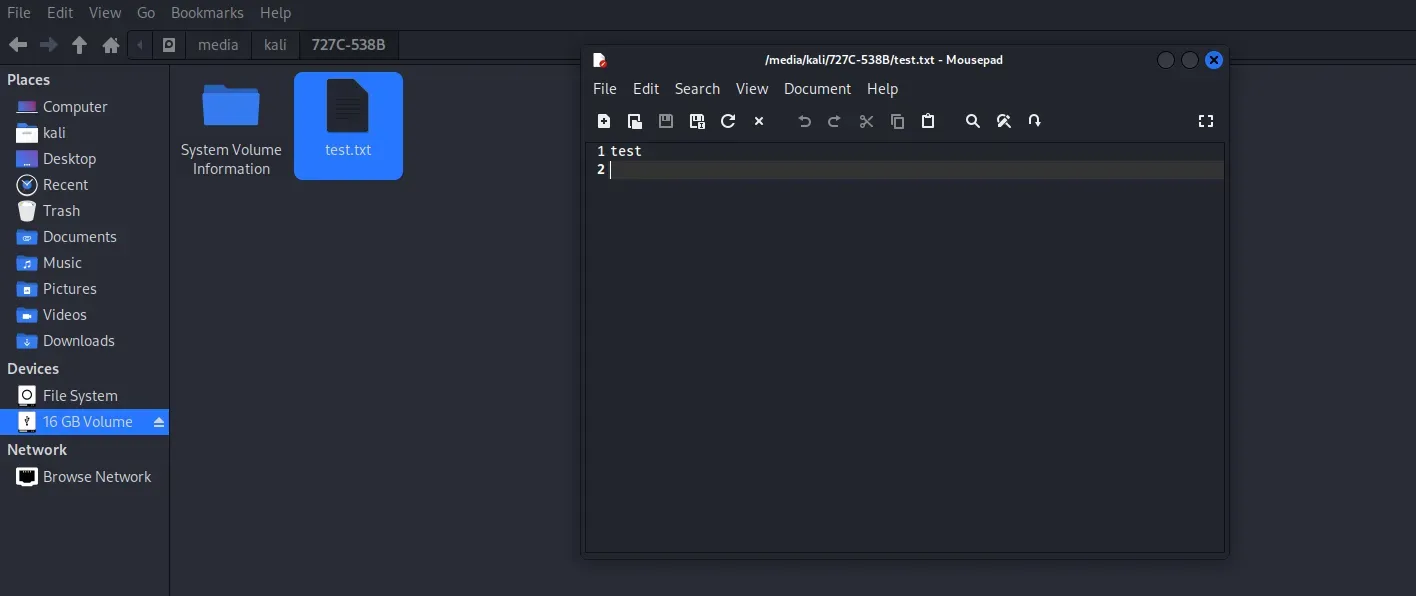
Before
![After]@/assets/blog/2025/blog3/(3cce2023-4ba8-428b-92b1-61c5c5dc5231.png)
After
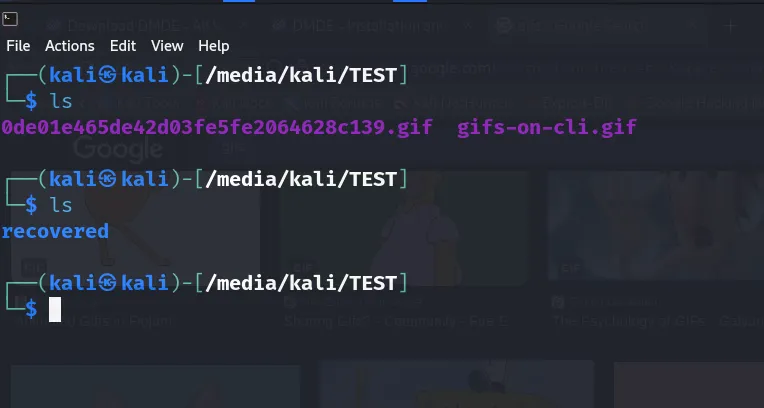
Now I will run the following command :
Once the command is done we’ll get our file back showing that the image works properly.
Recovering Deleted Files
Now that we have made a disk image we can run our tools to recover any deleted files on the disk itself or on the image (ideally). I will give commands for both cases. Let’s look at the recovery tools:
Foremost
In case foremost isn’t installed we can install it using :
sudo apt install foremost
We can see a brief overview of the command and the parameters by running:
└─$ foremost -h
foremost version 1.5.7 by Jesse Kornblum, Kris Kendall, and Nick Mikus.
$ foremost [-v|-V|-h|-T|-Q|-q|-a|-w-d] [-t <type>] [-s <blocks>] [-k <size>]
        [-b <size>] [-c <file>] [-o <dir>] [-i <file]

-V  - display copyright information and exit
-t  - specify file type.  (-t jpeg,pdf ...)
-d  - turn on indirect block detection (for UNIX file-systems)
-i  - specify input file (default is stdin)
-a  - Write all headers, perform no error detection (corrupted files)
-w  - Only write the audit file, do not write any detected files to the disk
-o  - set output directory (defaults to output)
-c  - set configuration file to use (defaults to foremost.conf)
-q  - enables quick mode. Search are performed on 512 byte boundaries.
-Q  - enables quiet mode. Suppress output messages.
-v  - verbose mode. Logs all messages to screen
If this doesn’t run then foremost wasn’t installed successfully.
Now I will also place two gif files in the USB and then I will delete them. The reason I’m using gif files is because I do not want it to recover a large number of files from before. I also created a directory since foremost requires an empty directory to output it’s files
I will run the following command to run foremost:
sudo foremost -t gif -q -v -o recovered /dev/sdc1
Foremost version 1.5.7 by Jesse Kornblum, Kris Kendall, and Nick Mikus
Audit File

Foremost started at Tue Jan 28 04:02:26 2025
Invocation: foremost -t gif -q -v -o recovered /dev/sdc1
Output directory: /media/kali/TEST/recovered
Configuration file: /etc/foremost.conf
Processing: /dev/sdc1
|------------------------------------------------------------------
File: /dev/sdc1
Start: Tue Jan 28 04:02:26 2025
Length: 14 GB (15726542848 bytes)

Num      Name (bs=512)         Size      File Offset     Comment

0:      00030032.gif         202 KB        15376384       (640 x 640)
1:      00034400.gif         164 KB        17612800       (960 x 548)
**^CInterrupt received at Tue Jan 28 04:02:50 2025
In the above command :
- -t : signifies the file types to look for
- -q: signifies quick mode
- -v: is for verbose output
- -o: output directory to output files to which is recovered
- /dev/sdc1: refers to the Drive or image to look in.
sudo foremost -t gif -q -v -o recovered -i imagepath
#In case I want to run it against an image
I interrupted the command after it found two gifs since I only had 2 files. You can wait for the command to finish. One limitation with foremost is that it does not recover file names.
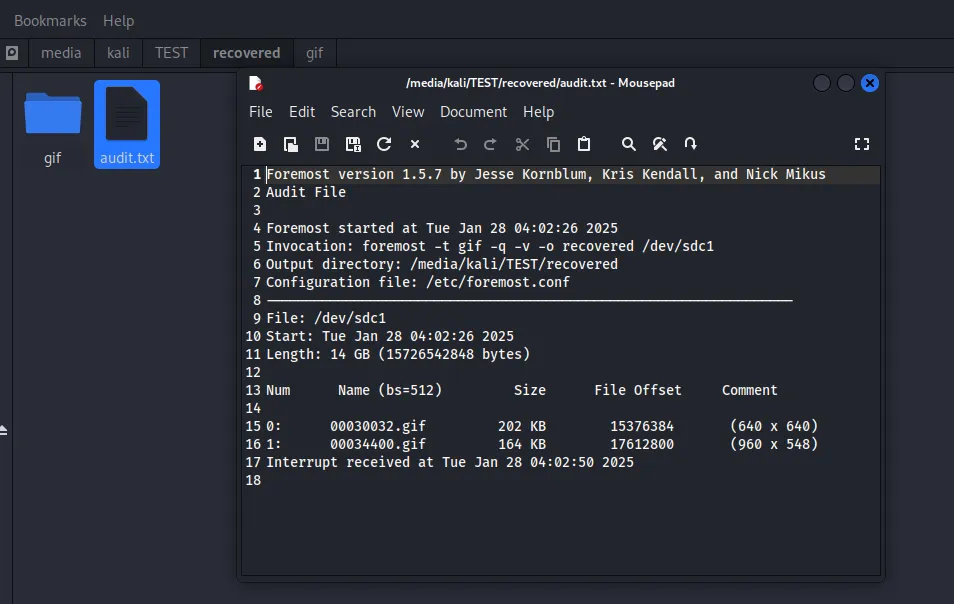
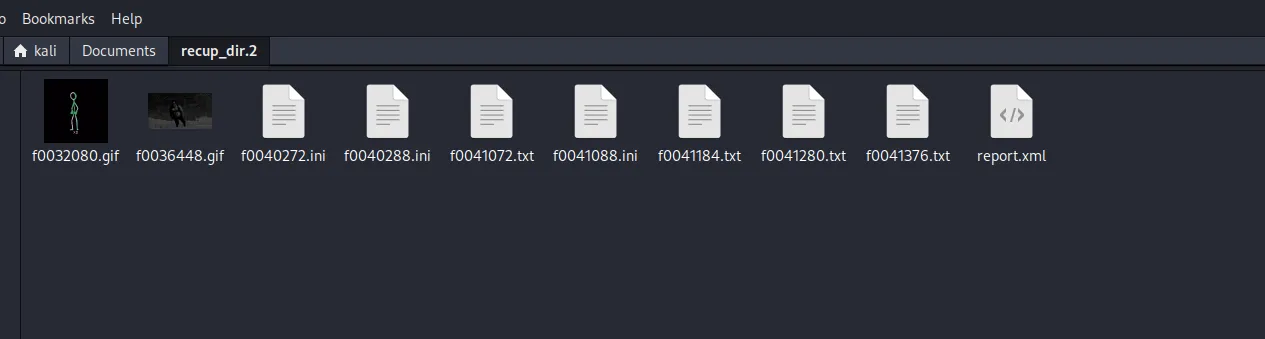
Foremost has the above structure for outputting files. The gif folder contains the same gifs I had deleted.
If you want further information refer to the man page for it.
photorec
We will now look at another tool which is photorec. Before doing so we will delete the contents of the USB drive.
Photorec comes preinstalled with Kali and can be run by just writing photorec in the terminal.
After running it the following screen pops up:
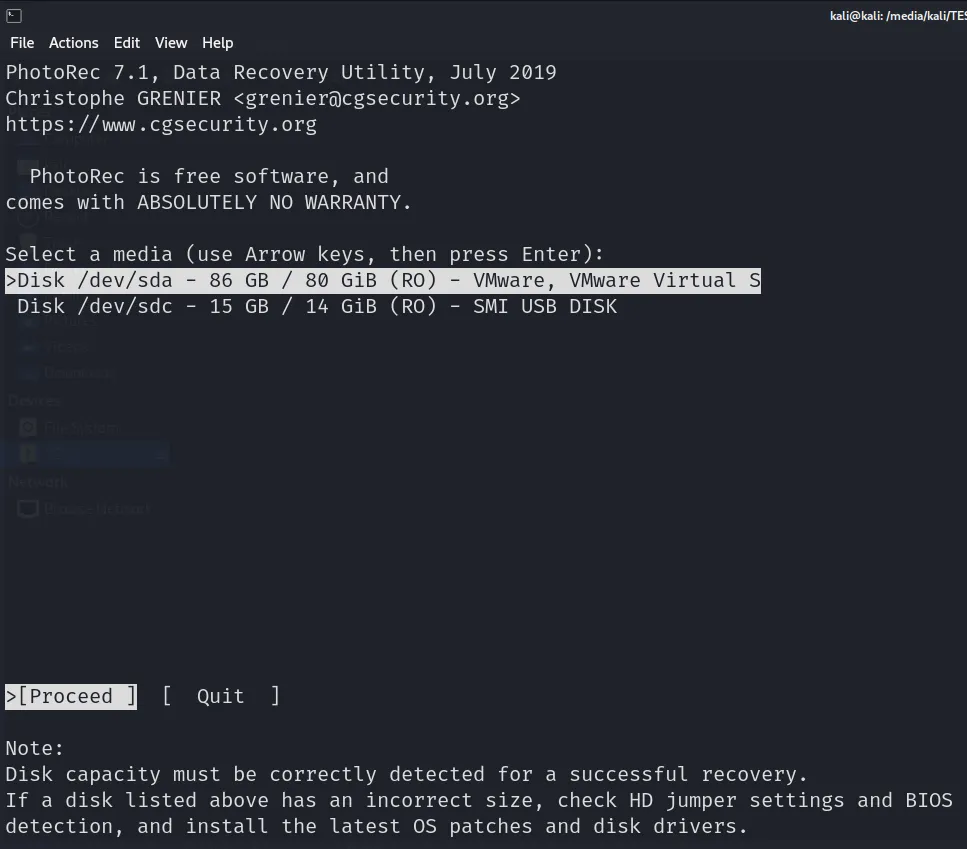
We will choose our USB Drive.
It then asks us whether we want to look for files in a particular partition or the whole USB drive. I chose the whole USB Drive but you may choose a specific partition according to your needs. However, before selecting any option you will see an options section at the bottom.
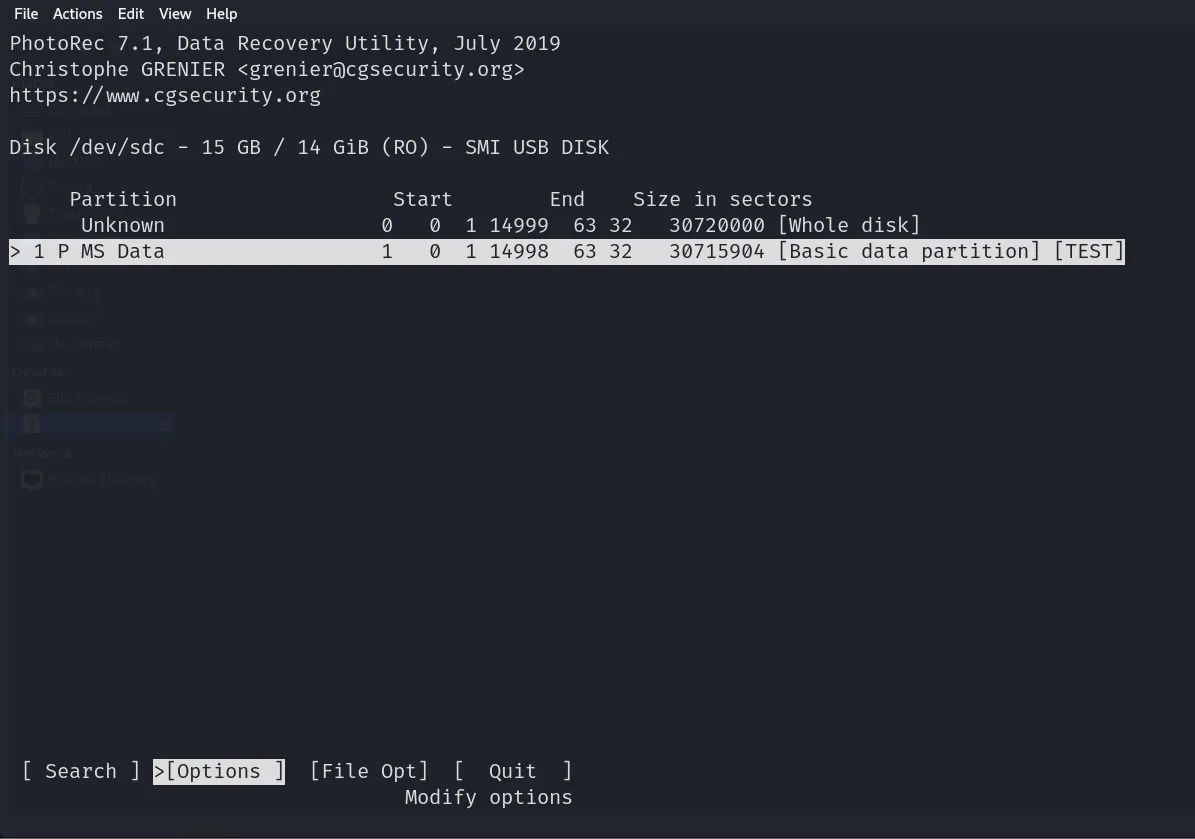
We will select that and it will show us the following screen:

I have left it at default but you may change it as needed.
After proceeding to the previous menu we will select File Options:

We can select the file types we want it to look for. I have again left it at default. We will now once again go back to the main menu and select the whole disk (or partition) we want to recover files from.
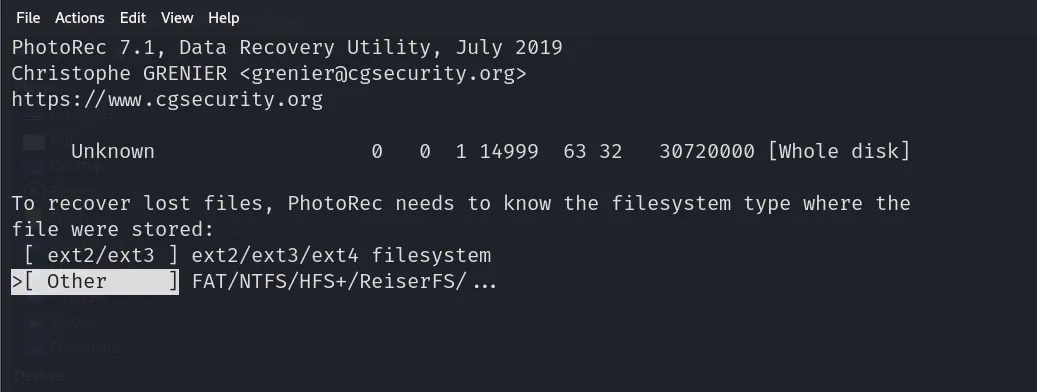
After that we get a page asking us the filesystem of the USB. We need to pick the correct option. In most cases it will be the second option. In my case since it is FAT I will also pick the second option.
We then choose the destination drive i.e where to store the files to. It is recommended to pick a destination not on the drive we are recovering files from.
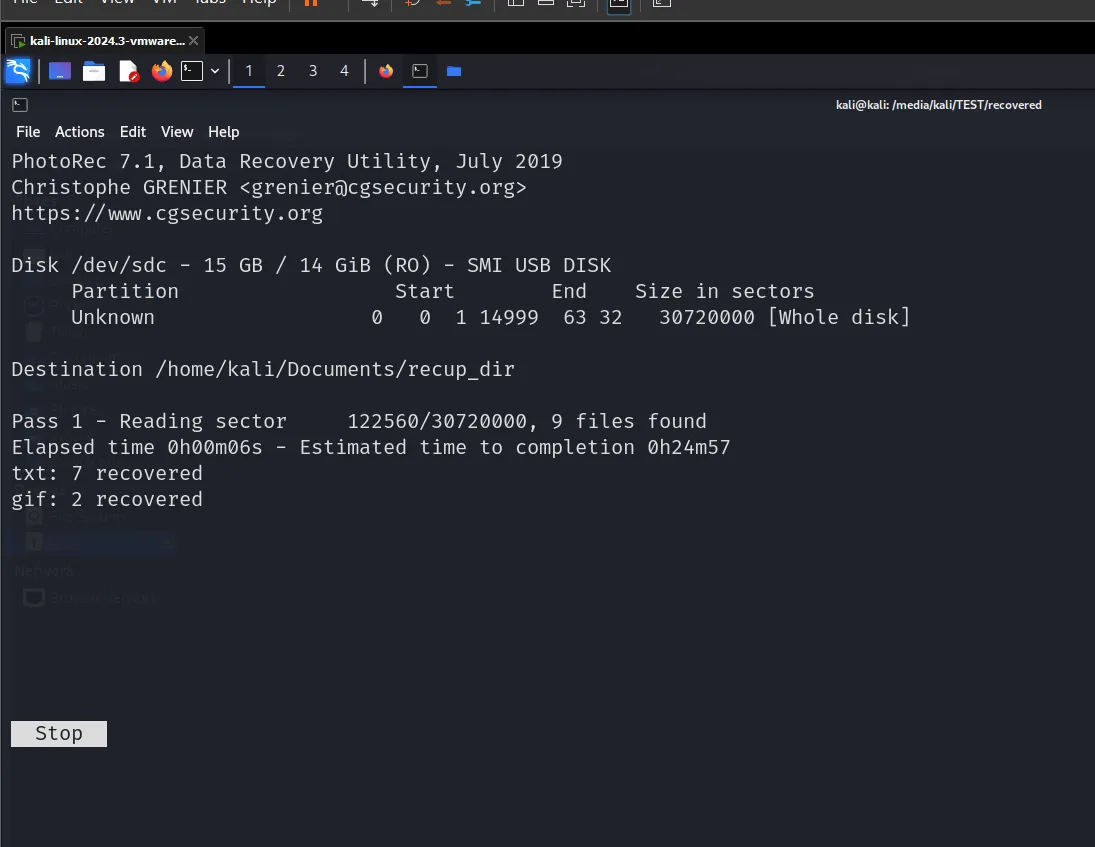
We can stop this anytime we want and then we will go to the directory which we selected to view the files.
As you can see photorec does not recover file names either.
DMDE
DMDE unlike the other tools is a GUI tool but it also needs to be installed. We can download it from it’s website, according to our platform.
For Linux based systems it comes in a zip file which we need to extract. We will cd into it and then run the following commands:
chmod 755 ./dmde #Making it executable

sudo apt-get install libc6-i386 #dependencies

./dmde # to run it
Proceed through selecting your language and giving Root user GUI access:
We will be then greeted by the following screen:
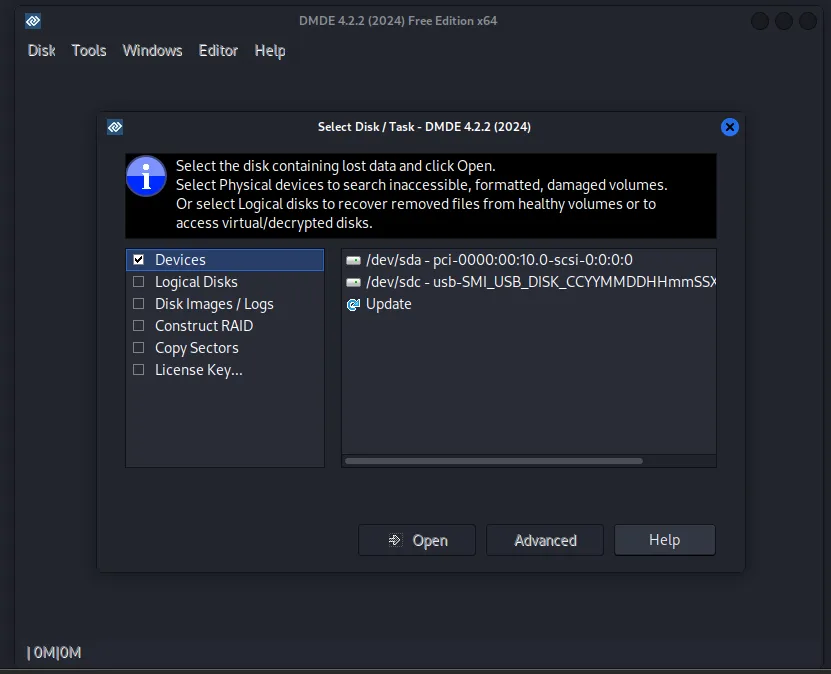
You can now select according to your needs but I will select the logical disks option and my USB Drive.
We will be greeted by the following screen now:
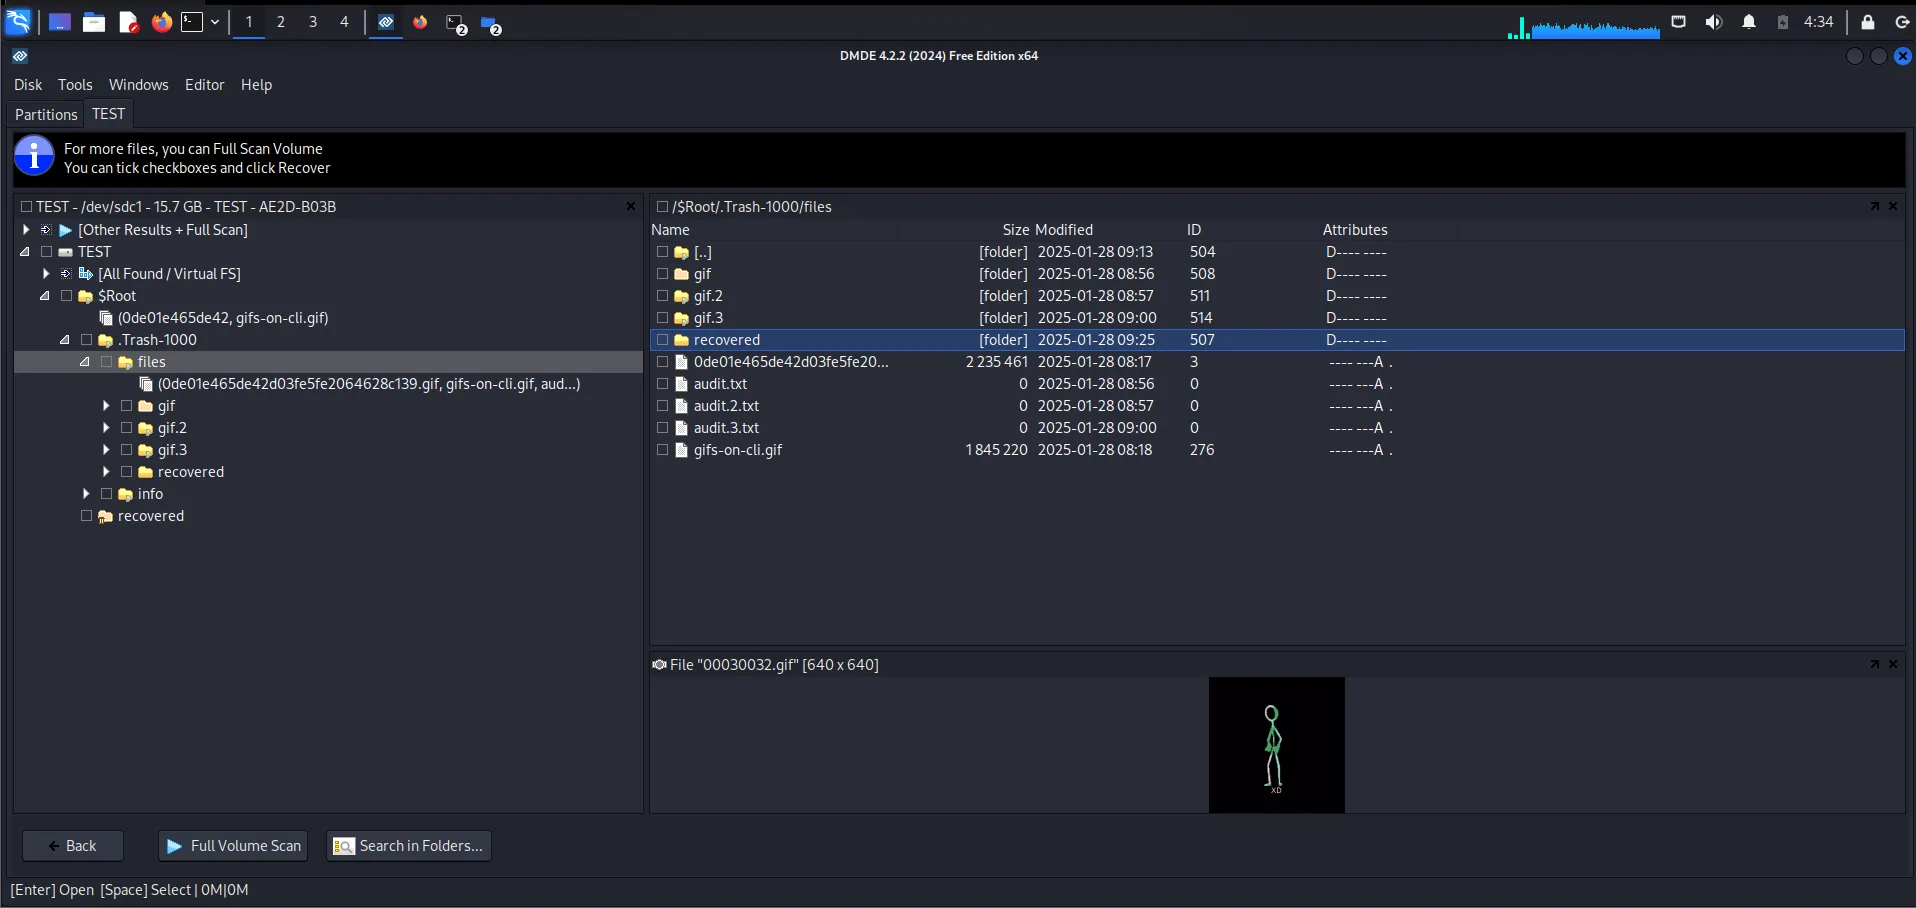
As you can see it has already recovered some files. It has also managed to recover some file names though they may not all be correct. To recover further files we will run a Full Volume Scan.
Ultimately the directory structure might not be consistent or accurate. You should try to open each folder manually to view files and such.
Conclusion
The reason Photorec and Foremost do not recover file names is largely due to the fact that they recover files by searching for file signatures (headers and footers). They typically recover the raw data. DMDE recovers file system based on their file system structures so it can often recover file names but not in all cases.